

How To Bring Back Exposure In Background Lighoom
How to Make a Photo B&Due west Except One Color in Lightroom
by Alexandra Bateman on Sep 15, 2022
Do you want to learn how to make a photograph black and white except one colour in Adobe Lightroom? Selective coloring in photograph editing can give your image a fun and playful experience, or make information technology more sophisticated and striking.
In this tutorial, we'll show yous how to employ Lightroom to brand your epitome black and white except for one color.
First, you'll need to make sure you lot have Lightroom downloaded and installed on your device. When buy Lightroom through Adobe's Creative Deject Plan for $9.99/month, you also get Photoshop!
Adobe at present offers 2 versions of Lightroom — Lightroom Archetype and Lightroom. Lightroom is a lighter version of Lightroom Classic, and so I'll be using Lightroom Archetype in this tutorial.
Making a Photograph Black and White Except One Color
First, you'll need to import your image to Lightroom Classic. You can do that past opening Lightroom and selecting Import.
If you'd like to edit your image for sharpness, exposure, or clarity, you can exercise that now. Once yous're satisfied with the general look of your photo, we tin move on to selective color editing.
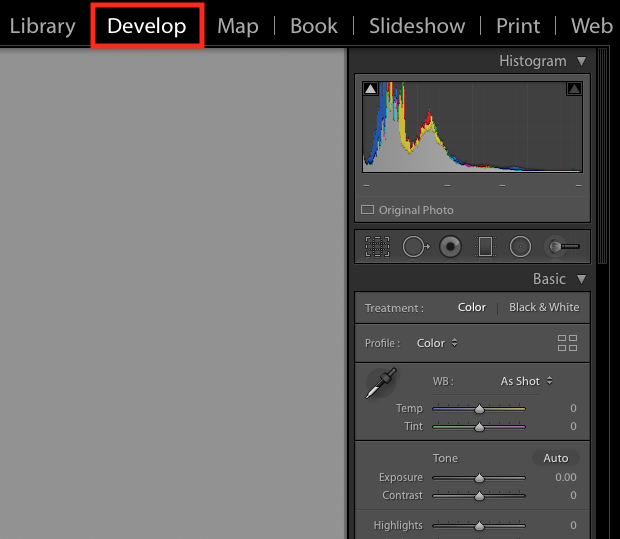
When yous're washed, access Lightroom's Develop mode, located at the menu bar on the elevation of the application.
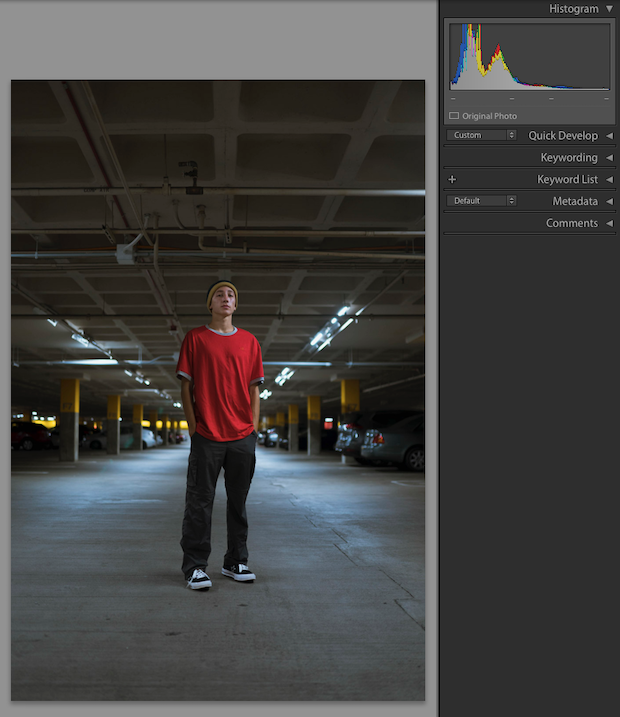
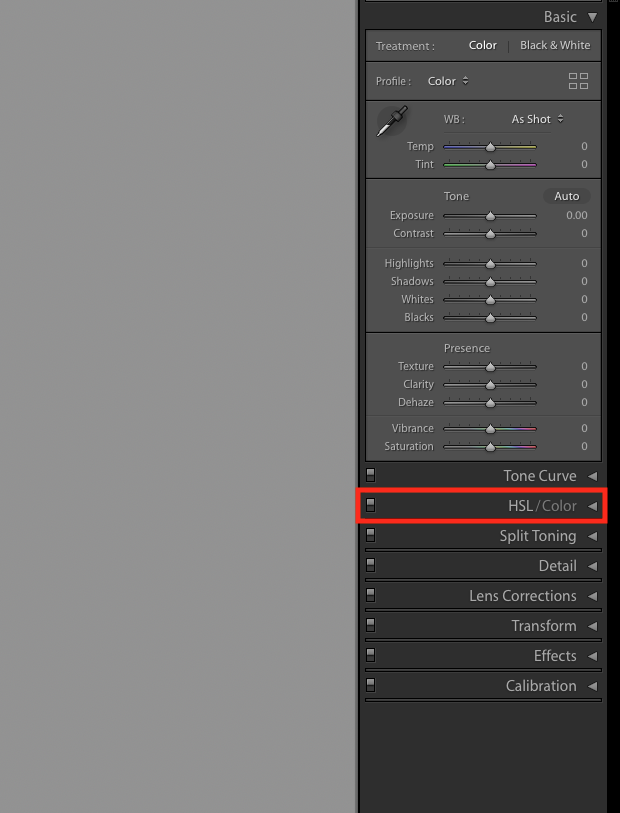
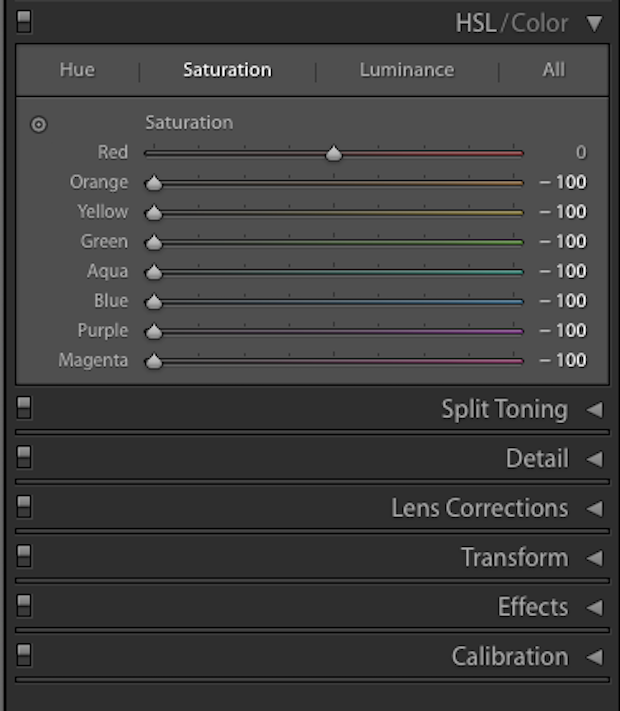
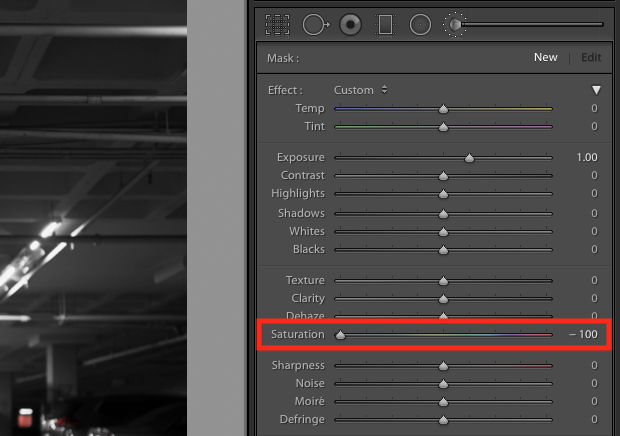
I've decided to turn this image black and white except for the model's cherry shirt. In society to accomplish this effect, I'll go to HSL style nether Lightroom's editing sidebar, and select Saturation.
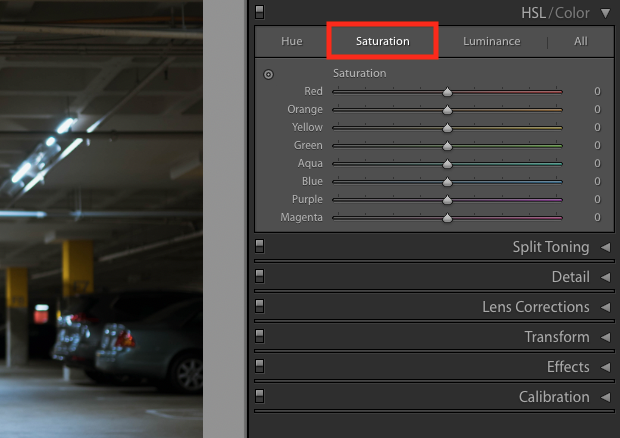
And then, I'll decrease the saturation of every color except red to -100. This will plough all other colors grayscale, which will produce a black and white effect.
Your Saturation menu will now await like this:
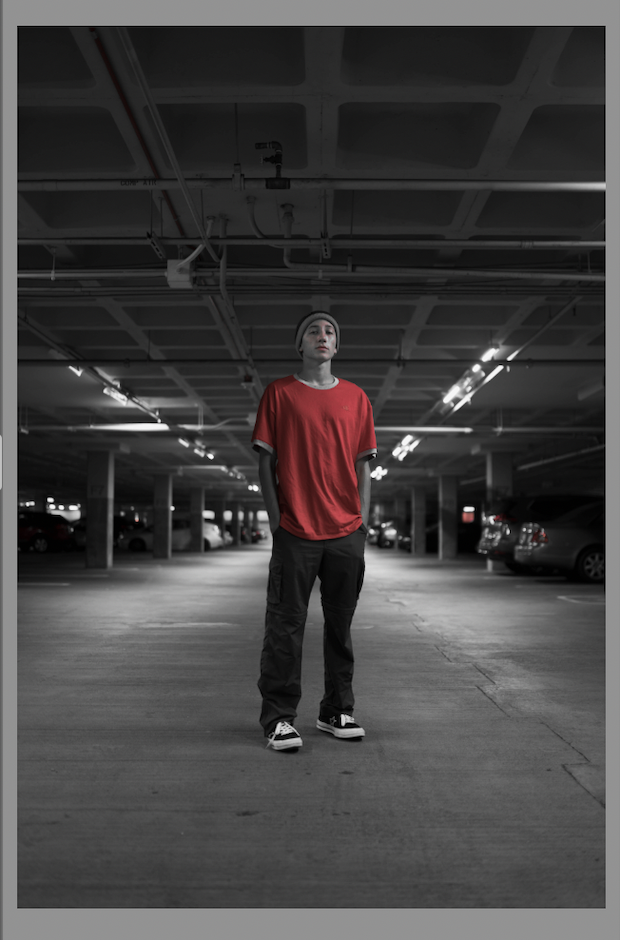
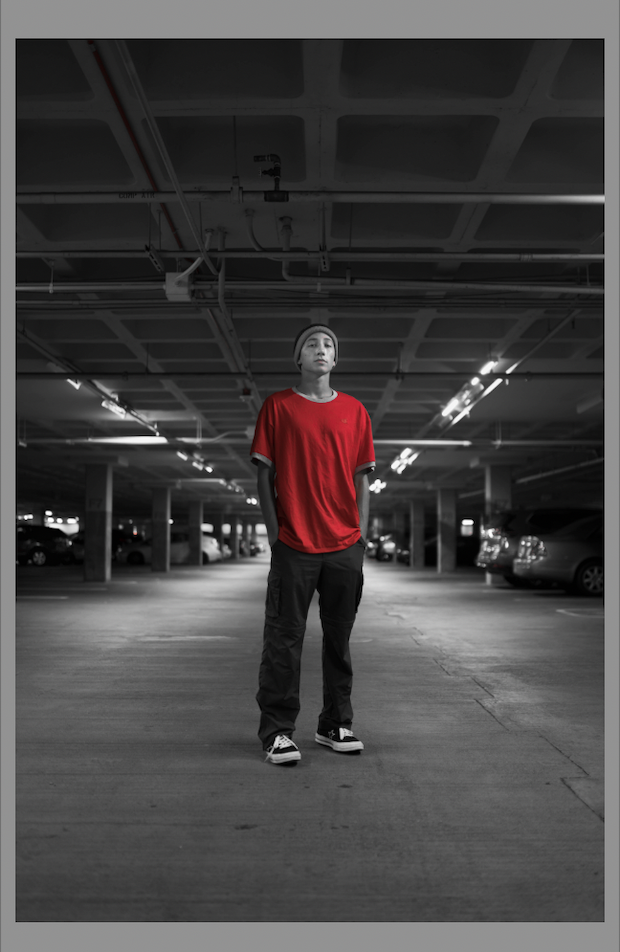
My image is now almost entirely black and white except for the subject area's shirt:
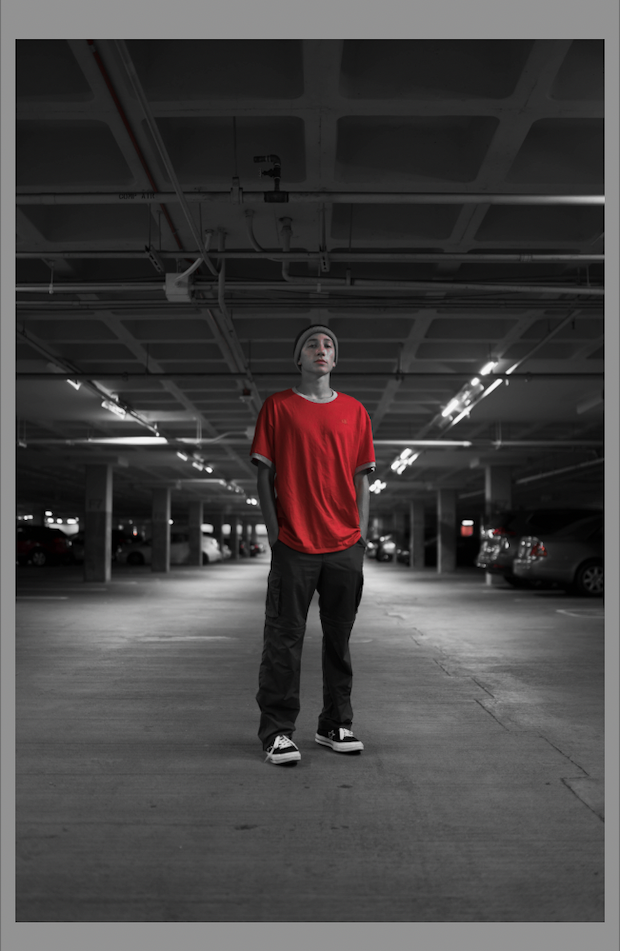
Adjacent, I'll increase the photo'due south saturation of red so that the colour looks more vibrant. This isn't an exact science. Merely play with the saturation of your remaining colour until you're happy with information technology. For this paradigm, I settled on a ruddy saturation of +35.
Now the scarlet shirt of my model conspicuously pops against the desaturated background:
Yous'll notice that some ruddy remains in the groundwork of the photograph and in the model'southward face up. We tin remove this unwanted red coloration with Lightroom's Aligning Brush, located just under the Histogram.
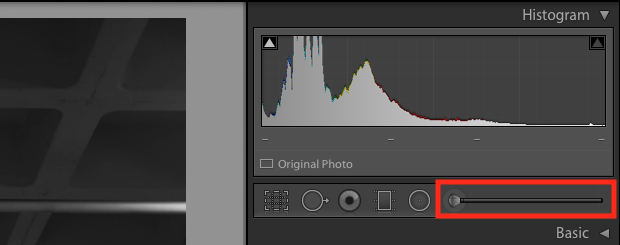
Click on the Aligning Brush and set its saturation to -100. Then, apply the brush paint over portions of the prototype that have retained an unwanted hue.
One time I painted over those trouble areas with the Adjustment Brush, my finished photo looked similar this:
Review of Steps for Selective Coloring in Lightroom
Once yous get the hang of it, editing photos for selective colors in Lightroom is pretty simple. Hither'south an overview of the steps it takes to turn an image blackness and white except one colour in Lightroom:
- Import your photo to Lightroom
- Enter Lightroom'due south Develop mode
- Click on HSL/Colour on the right-hand editing panel
- Select Saturation
- Subtract the saturation of all colors to -100 except for the color you want to retain
- Use the Adjustment Brush with a saturation of -100 to touch on upwardly trouble areas
You're Finished!
Try this editing technique on your photos and see what kinds of striking edits y'all can achieve!
We promise this tutorial has helped you learn how to make an image blackness and white except one colour in Lightroom. Bank check out this tutorial to learn how to accomplish the same technique in Adobe's Photoshop, or these popular tutorials on our blog:
If you learned something in this tutorial and are excited to effort out this technique, let us know how it goes! Follow u.s. on Twitter and Facebook for more photography editing tutorials, photography tips, and WordPress plug-in info.
Using WordPress and want to get Envira Gallery free?
Envira Gallery helps photographers create beautiful photo and video galleries in but a few clicks so that they can showcase and sell their work.
Related Posts


How To Bring Back Exposure In Background Lighoom,
Source: https://enviragallery.com/how-to-make-a-photo-bw-except-one-color-in-lightroom/
Posted by: wilsonmeself.blogspot.com
0 Response to "How To Bring Back Exposure In Background Lighoom"
Post a Comment